
Installation
Can You Put Wallpaper on Textured Walls? A Guide
Hanging wallpaper on a textured surface presents a challenge, but it is achievable with correct preparation. This guide walks you through the essential steps to smooth your walls for a perfect, professional result.

The short version
- Yes, you can put wallpaper on textured walls, but only after you have smoothed the surface.
- Applying wallpaper directly to a textured wall leads to poor adhesion, visible bumps, and split seams.
- The most effective method is to skim coat the wall with joint compound to create a completely flat surface.
- For very light textures like orange peel, sanding the wall down may be a sufficient alternative.
- Peel and stick wallpapers are not suitable for any type of textured surface as they require perfect smoothness to adhere correctly.
Yes, you can put wallpaper on textured walls, but not directly onto the textured surface. For a professional and lasting finish, the wall must be smoothed first. This preparation ensures the wallpaper adheres properly, the seams lie flat, and the beauty of the design is not compromised by underlying bumps and shadows.
Why is a smooth wall important for wallpaper?
A smooth wall is the foundation of any successful wallpaper installation. Textures, even minor ones, create an uneven surface with high and low points. This prevents the wallpaper from making full contact with the wall, leading to weak adhesion and air pockets that can cause peeling over time.
Furthermore, the texture will almost always show through the paper, distorting the pattern and creating unsightly shadows. Seams between wallpaper panels are particularly vulnerable. On a textured surface, they can lift, separate, or fail to meet perfectly, disrupting the flow of the design.
This is especially true for a made to measure wall mural, which is printed as one continuous image across several panels. For more information on general wall readiness, see our guide on how to prepare a wall for wallpaper.
Can you apply wallpaper to textured walls without smoothing them?
It is strongly advised not to apply wallpaper directly to textured walls. While it may seem like a time saving shortcut, the results are consistently poor and will not last. The wallpaper adhesive cannot form a strong, uniform bond over the peaks and valleys of a textured finish.
Attempting this will likely lead to several problems. You will notice air bubbles that are impossible to smooth out, seams that pull apart as the paper dries, and a lumpy, unprofessional final appearance. The texture will telegraph through the paper, no matter how thick it is.
Ultimately, skipping the preparation step will cost more time and money when the wallpaper inevitably fails and needs to be removed. Starting with a properly smoothed and primed surface is the only way to guarantee a beautiful, durable result.
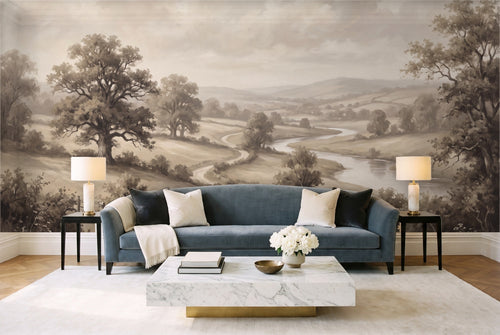
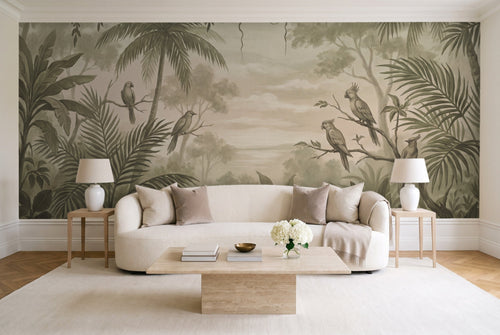
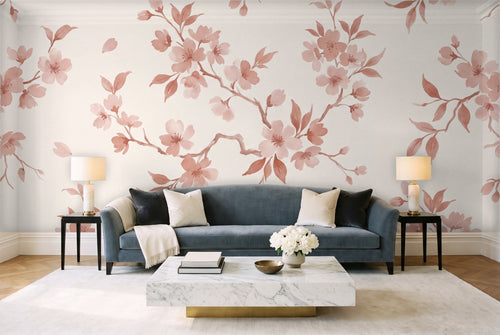
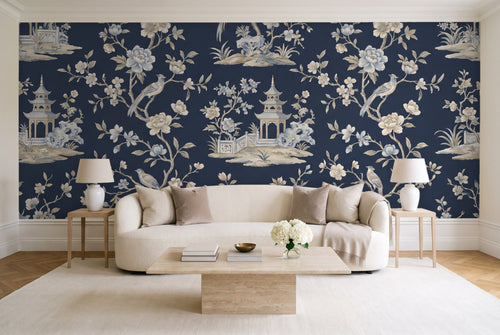
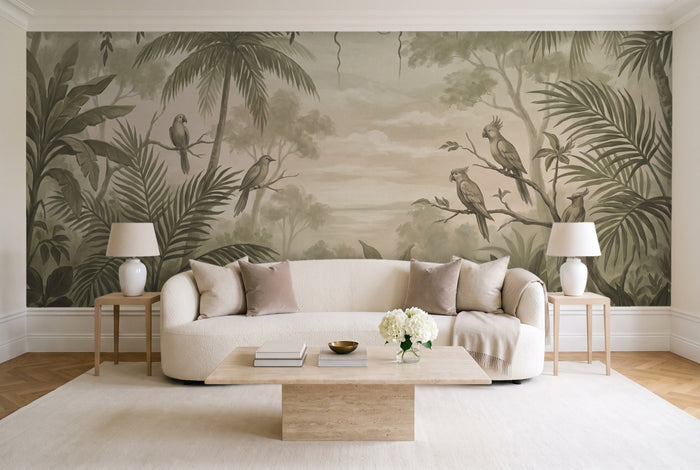
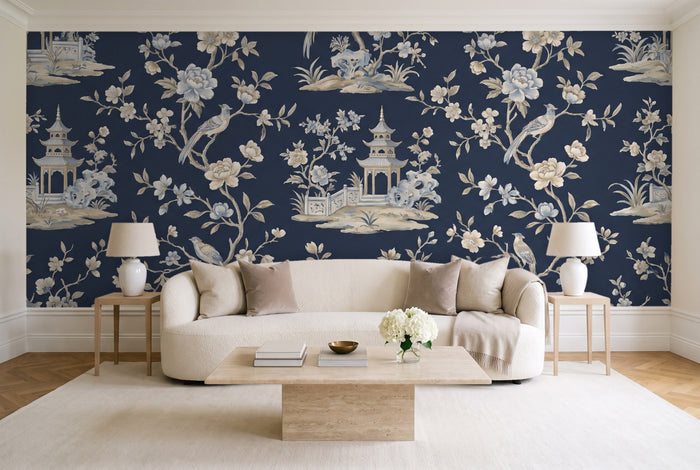
Murals made to your measure
 Ichiyo, BlushPrinted to your wall size
 Stillwater, MistPrinted to your wall size
 Glenfinnan, HeatherPrinted to your wall size
How to prepare a textured wall for wallpaper: Two methods
Preparing a textured wall involves creating a new, perfectly smooth surface. The best method depends on the depth and type of your wall's texture. For most common textures like knockdown or orange peel, skim coating is the most reliable approach.
Method 1: Skim coating (the best solution)
Skim coating is the process of applying thin layers of joint compound over the entire wall to fill in the texture. It creates a new, flat surface ideal for wallpaper. While it requires patience, it delivers professional quality results.
- Clean the wall. Wash the wall with a sugar soap solution or a mild detergent to remove any dirt, grease, or dust. Rinse with clean water and let it dry completely.
- Apply a primer. Roll on a coat of wallpaper primer or an acrylic primer. This seals the existing surface and helps the joint compound adhere better. Allow it to dry according to the manufacturer's instructions.
- Mix your joint compound. You can use a pre-mixed compound or a powder that you mix with water. Aim for a smooth, lump-free consistency, similar to thick yogurt.
- Apply the first coat. Using a drywall knife or trowel, apply a thin, even layer of compound to the wall, working in sections. Hold the tool at a low angle to spread the compound and a higher angle to scrape off the excess, leaving a very thin coat. The goal is to fill the low spots, not to build a thick layer.
- Apply subsequent coats. Let the first coat dry completely (this can take up to 24 hours). Lightly sand any ridges with fine-grit sandpaper (around 120-grit). Apply a second, and if needed, a third thin coat, often in a direction perpendicular to the last, until the wall is smooth.
- Sand and clean. Once the final coat is dry, sand the entire wall with fine-grit sandpaper until it is perfectly smooth to the touch. Use a pole sander for larger areas. Wipe away all dust with a damp cloth or a tack cloth.
- Prime the new surface. Apply a final coat of wallpaper primer. This critical step seals the porous joint compound, preventing the wallpaper paste from soaking in too quickly and ensuring easy removal in the future.
Method 2: Sanding down the texture (for light textures)
For walls with a very light texture, such as a mild orange peel, you may be able to simply sand it smooth. This method is faster but messier than skim coating and is not suitable for heavier textures.
- Protect your space. Cover furniture and floors with dust sheets. Seal off doorways to other rooms. Wear a dust mask, safety goggles, and gloves.
- Sand the wall. Use an electric random orbital sander with medium-grit sandpaper (80 to 100-grit) for the most efficient removal. Work in a consistent pattern across the entire wall until the texture is gone. Be careful not to gouge the drywall underneath.
- Clean thoroughly. This process creates a large amount of fine dust. Vacuum the walls, ceiling, and floor. Then, wipe the walls down with a damp cloth to remove any remaining residue. Let the wall dry completely.
- Repair and prime. Fill any nicks or gouges with a small amount of filler and sand smooth once dry. Finally, apply a coat of wallpaper primer to the entire wall to seal the surface and prepare it for wallpaper.
Always prime. After sanding or skim coating, applying a quality wallpaper primer is essential. This seals the new surface, prevents the paste from soaking in too quickly, and makes the wallpaper easier to position and eventually remove.
Can you wallpaper over textured walls using lining paper?
Using lining paper is another common method to cover texture. Lining paper is a thick, plain paper that is hung horizontally on the wall before the decorative wallpaper. It creates a smoother bridge over the texture, providing a better surface for the final layer.
However, for anything more than a very slight texture, skim coating is superior. Lining paper can still show faint signs of a heavier texture underneath, and it adds an extra layer of seams to the wall, which can sometimes be visible. It is a good solution, but skim coating remains the gold standard for a truly flawless finish.
| Method | Advantages | Disadvantages |
|---|---|---|
| Skim Coating | Perfectly smooth finish. It completely eradicates the texture, providing the ideal surface for any wallpaper, including delicate designs. | Time and labour intensive. The process involves multiple coats, drying time, and significant sanding, which creates a lot of dust. |
| Lining Paper | Quicker and less messy. It avoids the extensive drying and sanding time associated with skim coating, making it a faster option. | May not hide all textures. Deeper textures can still telegraph through the lining paper, resulting in a less than perfect finish. |
What is the best peel and stick wallpaper for textured walls?
There is no peel and stick wallpaper that is recommended for textured walls. Self-adhesive wallpapers, including Casavono's repositionable Peel & Stick paper, rely on having a large surface area in constant contact with the wall to create a strong bond. The peaks and valleys of a textured surface drastically reduce this contact area.
If you apply peel and stick wallpaper to a textured wall, it will not adhere properly. Air will be trapped in the low points of the texture, causing the wallpaper to lift, bubble, and eventually peel off completely. For this reason, you must smooth the wall first using one of the methods described above before considering any peel and stick product.
Once your wall is smooth, you can explore self-adhesive options. However, for a newly prepared surface, traditional papers often provide a more durable and permanent bond. Casavono offers Non-Pasted and Pre-Pasted paper options. You can find more details in our guide on what makes the best peel and stick wallpaper.
How to measure and choose a mural for your prepared wall
Once your wall is perfectly smooth and primed, you are ready for the exciting part: choosing and measuring for your wallpaper. A smooth wall opens up a world of design possibilities, from subtle patterns to large, impactful murals that act as a single piece of art.
For a made to measure mural, accurate measurements are key. Following the advice in our guide on how much wallpaper you need, measure the total width and height of the wall at its widest and tallest points.
Do not exclude doors or windows. Then, add about 4 inches (10 cm) to both the final width and height for trimming. This ensures you have enough paper to account for any slight variations in your walls.
A perfectly smooth wall is the ideal canvas for any wallpaper design. You can learn more about how ordering a made to measure mural works and use our free online wallpaper calculator to confirm your dimensions.
Ready to find your perfect design?
Explore our complete collection of made-to-measure murals, all printed to your exact wall size.
Can you wallpaper textured walls in a bathroom or kitchen?
Yes, you can wallpaper textured walls in high-humidity areas like bathrooms and kitchens, provided you follow the same essential preparation steps. In fact, preparation is even more critical in these rooms. The combination of texture and moisture is a recipe for wallpaper failure.
You must begin by smoothing the wall with a skim coat. It is crucial to use a moisture-resistant joint compound for this. After sanding, you must prime the wall with a moisture-resistant, mould-inhibiting primer designed for kitchens and bathrooms. This will protect the wall and ensure the wallpaper paste adheres correctly without being affected by steam and humidity.
For the wallpaper itself, choose a paper suitable for these environments. Casavono's Pre-Pasted paper has a textured matte finish and suits kitchens and bathrooms and everyday humidity.
Hanging your wallpaper on the newly smoothed wall
With the hard work of preparation complete, hanging your wallpaper will be a much more straightforward and rewarding process. The smooth, primed surface will allow you to easily slide the paper into position for perfect alignment and will ensure a strong, even bond.
Gather your tools: a tape measure, spirit level, pencil, a sharp utility knife with fresh blades, and a smoothing tool. Depending on your chosen paper type, you will also need paste and a roller (for Non-Pasted), a water tray (for Pre-Pasted), or a squeegee (for Peel & Stick).
Each Casavono mural is delivered in numbered panels that are hung from left to right, edge to edge, without any overlap. For detailed, step-by-step instructions tailored to each paper type, please consult our comprehensive wallpaper installation guide. It will walk you through every step from the first panel to the final trim.
More murals to consider
 Arkwright, PearlPrinted to your wall size
 Quai Voltaire, LinenPrinted to your wall size
 Candlemas, MossPrinted to your wall size
Common questions
What if my wall has very light texture, like orange peel?
Even a light orange peel texture can show through wallpaper and compromise adhesion. For the best results, it is always recommended to smooth the wall. You may be able to sand it down rather than applying a full skim coat, but creating a flat surface is still a necessary step.
Can I use extra adhesive to make wallpaper stick to a textured wall?
No, extra adhesive will not solve the fundamental problem. The issue is the lack of surface contact, not the strength of the glue. More paste will simply create a mess and will not prevent the wallpaper from lifting away from the high points of the texture or showing bumps.
Will thick, embossed wallpaper hide texture?
While thicker, heavily embossed, or 'paintable' wallpapers are more forgiving than smooth papers, they will not completely hide a medium to heavy texture. The underlying pattern of bumps will still be visible, especially in certain lighting, and you will still face adhesion problems at the seams.
How long does skim coating take to dry before I can wallpaper?
Each thin layer of joint compound typically needs up to 24 hours to dry completely before you can sand or apply the next coat. After the final coat is sanded and cleaned, the final layer of primer should cure for at least 24 hours before you begin hanging wallpaper.
Is it better to hire a professional for a textured wall?
If you are not confident in your DIY skills, hiring a professional decorator is a wise investment. Skim coating requires skill to achieve a perfectly flat finish. A professional will ensure the wall preparation is done correctly, which is the most critical part of the entire project.
What happens if I apply peel and stick wallpaper to a textured wall?
Peel and stick wallpaper will fail on a textured wall. The self-adhesive backing cannot create a strong bond without a completely smooth surface. The wallpaper will quickly develop bubbles, lift at the edges, and will likely start peeling off the wall within a short period.
Made to your measure
Murals for the wall you have in mind


Before you order