


Installation
How to Wallpaper Around a Window and Door Frames
Wallpapering around a window or door frame can seem complex, but it is a manageable task with the right technique. Our guide breaks down the process into simple, actionable steps for a flawless result.

The short version
- Hang the wallpaper panel so it covers the window, smoothing it down to the edges of the frame.
- Make diagonal relief cuts from the paper's corner towards the corners of the window frame to release tension.
- Roughly trim the paper inside the window opening, leaving a margin of about 1 inch (2.5 cm) for the reveal.
- Use a smoothing tool to press the paper tightly against the frame, then trim the excess precisely with a sharp utility knife.
- Address the window reveal by either wrapping the trimmed flap or cutting a separate, pattern-matched piece to fit.
To wallpaper around a window, hang the full panel so it completely covers the window opening. Smooth the paper onto the wall above and beside the frame, then make diagonal cuts into the paper towards each corner of the window. This allows the paper to lie flat around the frame, after which you can trim away the excess for a clean finish.
What tools do I need for wallpapering around a window?
Having the right tools is essential for achieving a professional finish. A sharp blade is particularly important for the precise cuts required around a frame. Before you begin, gather all your equipment to ensure the process goes smoothly without interruption. Your toolkit should be adapted slightly depending on your chosen paper type.
Here is a complete list of recommended tools:
- Tape measure and pencil: For accurate measurements and marking your starting point.
- Spirit level: Crucial for ensuring your first panel is perfectly vertical, which governs the alignment of all subsequent panels.
- Utility knife: You will need a very sharp knife with several spare blades. A fresh blade for each window is a good rule to prevent tearing the damp paper.
- Smoothing tool: A plastic wallpaper smoother helps to press the paper into the corners and remove air bubbles without damaging the surface.
- Damp sponge and clean water: For wiping away any excess paste from the wallpaper surface and the window frame.
- Specific tools for your paper type: For Non-Pasted paper, you need wallpaper paste, a brush or roller, and a pasting table. For Pre-Pasted, you need a water tray or a sponge to activate the adhesive. For Peel & Stick wallpaper, a squeegee is the best smoothing tool.
A note on measuring. Even when a wall has windows, Casavono’s made to measure murals require you to measure the full rectangular area of the wall at its widest and tallest points. Our free wallpaper calculator uses these dimensions to print a mural that perfectly fits your space, with the design elements around the window accounted for.
How do you prepare a wall with a window for wallpaper?
Proper wall preparation is the foundation of a successful wallpaper installation. A wall with a window is no different: it must be smooth, clean, and dry before you begin. Any imperfections on the wall surface can show through the wallpaper or compromise its adhesion, leading to peeling or bubbling later on.
Start by removing any old wallpaper, flaking paint, or loose plaster. Fill any holes or cracks with a suitable filler, then sand the patches smooth once dry. Wash the wall with a sugar soap solution or a mild detergent to remove any grease, dust, or grime, and then rinse with clean water. Allow the wall to dry completely, which can take up to 24 hours.
If your wall has been freshly painted, it is vital to wait at least three to four weeks for the paint to fully cure. Applying wallpaper too soon can trap moisture and cause the paint to bubble or peel, taking your new wallpaper with it. For more detailed instructions on getting your surface ready, consult our complete guide on how to prepare a wall for wallpaper.
Murals made to your measure
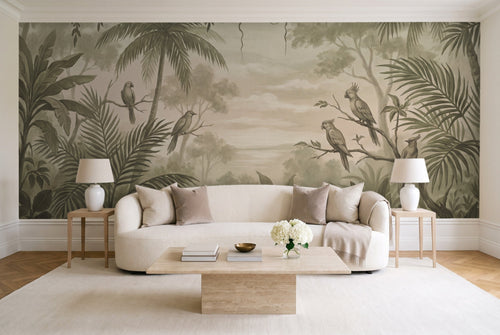
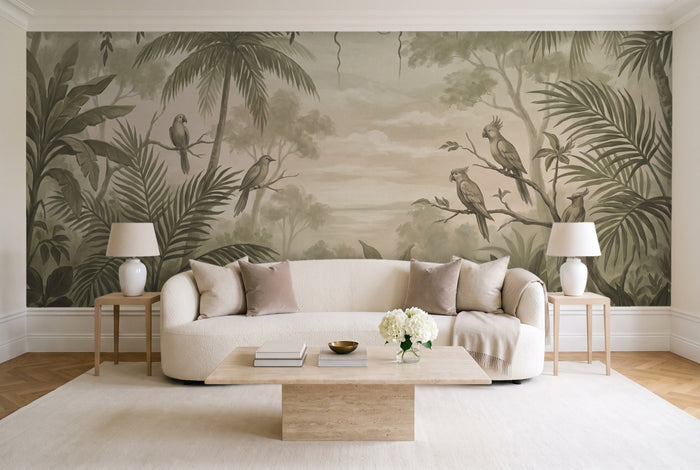
 Green Peony Floral MuralPrinted to your wall size
 Southwark, StonePrinted to your wall size
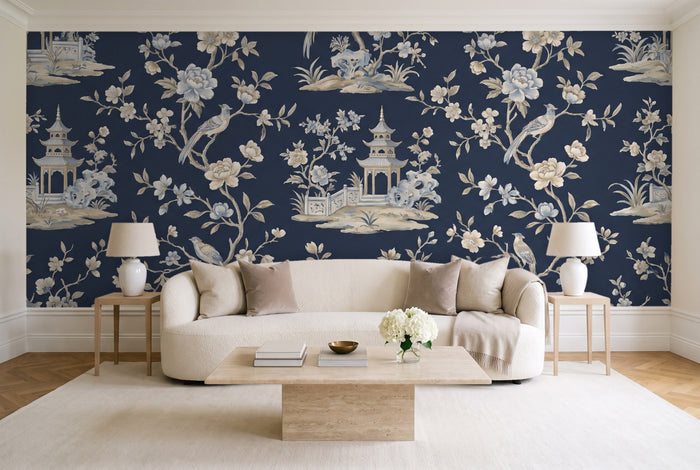
 Alexandrine, OnyxPrinted to your wall size
How do you hang wallpaper around a window?
Hanging wallpaper around a window involves a specific sequence of smoothing and cutting to accommodate the frame. The key is to work slowly, handle the wet paper carefully, and use a very sharp blade for all cuts. This method applies to both repeating pattern wallpaper and large scale murals.
Follow these steps for a neat and tidy result:
- Hang the Panel Over the Window: Hang your wallpaper panel from the ceiling as you normally would, allowing it to hang down over the window frame and opening. Do not try to cut it to size before hanging.
- Smooth the Paper Down: Using your hands or a wallpaper brush, smooth the paper down onto the wall above the window and on the side of the window you are working on. Gently press it into place until you reach the edges of the window frame.
- Make the Relief Cuts: This is the most important step. Identify the top and bottom corners of the window frame underneath the paper. Make a diagonal cut with your utility knife from the edge of the paper inwards, stopping precisely at the corner of the frame. These cuts release the tension in the paper, allowing it to be folded around the frame.
- Press the Paper Around the Frame: With the tension released, you can now gently press the wallpaper against the side of the window frame and onto the wall beneath the window sill. Use your smoothing tool to ensure it is flat against the wall and tucked tightly into the join between the wall and the frame.
- Make the Horizontal Cut: At the top and bottom of the window, you will have a flap of wallpaper. Smooth the top flap down and make a horizontal cut along the top edge of the frame. Do the same for the bottom flap along the top edge of the window sill. This removes the bulk of the paper covering the window.
- Perform the Final Trimming: With the main section removed, use your smoothing tool to create a firm crease where the wallpaper meets the frame. Run your sharp utility knife along this crease to trim the excess paper, leaving a perfect edge. Wipe away any paste from the frame with a damp sponge.
How to cut wallpaper around a window reveal?
The window reveal is the internal surface of the window opening. Once you have wallpapered the main wall around the frame, you need to decide how to finish this area. You can either paint it a complementary colour or continue the wallpaper into the reveal for a more cohesive look. The latter requires a few extra, careful cuts.
The technique varies slightly for the top, sides, and bottom of the reveal.
The Top Reveal
After making your main cuts, you should be left with a flap of wallpaper above the window that is about 1 inch (2.5 cm) wider than the reveal is deep. Press this flap onto the 'ceiling' of the reveal.
Trim it so it finishes neatly where the reveal meets the window frame itself. For the corners, you can either make a small diagonal cut for a neat fold or create a mitred corner for a truly professional finish.
The Side Reveals
For the side of the window you just wallpapered, use the vertical flap you left to wrap it around into the reveal. Smooth it down and trim it at the window frame. For the other side of the window, you will need to cut a separate piece of wallpaper.
Measure the reveal and cut a strip that is wide enough to cover it plus about 1 inch (2.5 cm) to wrap onto the main wall. Ensure you align the pattern perfectly before applying.
The Bottom Reveal (Sill)
The area under the window sill is treated similarly. Use the flap of paper you left from the main panel to smooth it down onto the wall. If your window has a prominent sill, you will trim the paper neatly underneath it.
If the sill is flush or part of the reveal, you can wrap the paper around it, trimming carefully at the corners. With a delicate design like the Green Peony Floral Mural, ensuring the image aligns correctly on these small pieces is key to a polished look.
Ready to master the technique?
Our complete guide covers every step of the process for all paper types.
How should I handle a large pattern around a window?
Working with a large or complex pattern around a window requires careful planning to ensure the design flows correctly and is not awkwardly interrupted by the frame. With traditional repeating-pattern wallpaper, this can involve a lot of waste as you try to match the pattern from one side of the window to the other.
This is a situation where a made to measure wall mural offers a significant advantage. A Casavono mural is a single image printed to the exact dimensions of your entire wall. When you provide your wall's full width and height (including the window), the design is scaled and composed to fit that specific area. The window is treated as part of the overall canvas.
Because the mural arrives in numbered, pre-cut panels that are hung edge to edge, you do not have to worry about pattern matching across the window. You simply hang the panels in sequence.
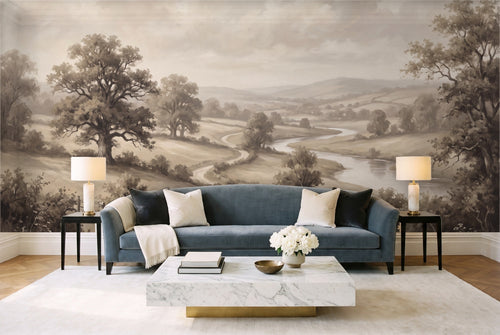
A cityscape like the Southwark, Stone mural will continue flawlessly after the window break, preserving the integrity of the scene. All you need to do is follow the cutting technique described above. Explore our full collection of made to measure murals to see how a large scale design can transform a room.
What are the common mistakes when wallpapering around frames?
Wallpapering around windows and doors can be tricky, and a few common errors can spoil the final look. Being aware of these potential pitfalls can help you avoid them. The most frequent issues relate to cutting the paper and handling it while it is wet and fragile.
Here is a comparison of common mistakes and how to prevent or fix them:
| Common Mistake | Solution & Prevention |
|---|---|
| Ragged, torn edges. | Use a sharp blade. A dull knife will drag and tear damp paper. Change your utility knife blade frequently, ideally for every major obstacle like a window or door. |
| Paper tearing at the corners. | Make full relief cuts. If the paper tears when you try to smooth it around the frame, your diagonal relief cuts were likely not long enough. They must extend right to the corner of the frame. |
| Gaps appearing at the frame. | Do not overstretch the paper. When wet, wallpaper has some give. Avoid pulling it too tightly, as it will shrink back as it dries, potentially creating gaps along your trimmed edges. |
| Pattern mismatch across the window. | Measure and plan ahead. For repeating patterns, measure the distance across the window to predict where the pattern will fall on the other side. A made to measure mural avoids this issue entirely. |
| Paste on the window or frame. | Clean as you go. Keep a damp sponge and a bucket of clean water handy. Wipe any excess paste off non-wallpaper surfaces immediately, before it has a chance to dry. |
Pro Tip. When trimming along the frame, hold your utility knife at a low angle. This uses more of the blade's length for a smoother, cleaner cut and reduces the risk of the tip digging in and tearing the paper.
How do you wallpaper around a door frame?
The process for wallpapering around a door frame is very similar to that for a window. In many ways, it is simpler because you typically do not have to contend with a deep reveal. The main obstacle is the architrave, the decorative moulding around the door.
As you approach the door, hang the panel so it overlaps the frame. Smooth the paper down the wall until you reach the top corner of the architrave. Just as with a window, make a diagonal relief cut from the paper’s edge into the corner of the frame. This allows the paper to fall flat against the wall on the side of the door.
Press the paper tightly against the side of the architrave and down to the floor. Use your smoothing tool to create a sharp crease where the paper meets the moulding. Using this crease as a guide, trim away the excess with your sharp utility knife.
Repeat the process for the section of paper above the door, smoothing it down and trimming it along the top edge of the architrave. A bold, dramatic design like the Alexandrine, Onyx mural can make a powerful statement around a doorway.
How to hang lining paper around a window?
Hanging lining paper around a window follows the exact same principles as hanging decorative wallpaper. Lining paper is a plain, un-patterned paper that is applied to the wall first to create a smooth, even surface for your final wallpaper or paint. It is excellent for covering minor imperfections and provides a better base for adhesion.
You should hang, cut, and trim lining paper around windows and doors using the same relief cut method. Hang the sheet over the window, make diagonal cuts to the corners of the frame, smooth the paper into place, and trim the excess. Because there is no pattern to match, the process is faster and more forgiving.
It is generally recommended to hang lining paper horizontally (a technique known as cross-lining) so that its vertical seams do not coincide with the seams of your final wallpaper. However, the cutting technique around frames remains the same regardless of orientation. For a complete walkthrough, see our dedicated guide on how to hang lining paper.
More murals to consider
 Belgravia, MidnightPrinted to your wall size
 Amalfi, MistPrinted to your wall size
 Montmartre, StonePrinted to your wall size
Common questions
Can I wallpaper inside the window reveal?
Yes, you can wallpaper the inside of the window reveal for a continuous, professional look. You can either use the flap of paper left over from trimming the main wall piece or cut a separate, pattern-matched strip. Ensure the surface inside the reveal is prepared just like the main wall.
What's the best wallpaper for a wall with windows?
Any type of wallpaper can be used on a wall with windows. However, a made to measure mural can simplify the process, as the design is scaled to your wall's total size, eliminating complex pattern-matching calculations across the window. For humid rooms like kitchens or bathrooms, a Pre-Pasted paper is a suitable choice.
Do I need to remove radiators before wallpapering?
For the best finish, it is recommended to turn off and remove the radiator from the wall. This allows you to wallpaper the full wall behind it. If this is not possible, you can carefully cut the wallpaper to fit around the radiator brackets and use a small roller to press it into place behind the unit.
How much extra wallpaper should I allow for windows?
With traditional wallpaper, you must purchase extra material to account for pattern matching and waste. For a Casavono made to measure mural, you simply provide the wall's maximum height and width, including the window. We recommend adding about 4 inches (10 cm) to these measurements to allow for trimming.
Is it easier to wallpaper around windows with Peel & Stick?
Peel & Stick wallpaper can be more forgiving for beginners. Because it is repositionable for up to 24 hours, you can lift and reapply the paper if you make a mistake while cutting or smoothing around the frame. This makes it a great option if you are nervous about getting the cuts right on the first try.
Do I start wallpapering from the window or a corner?
You should typically start in the least conspicuous corner of the room, not at the window. However, if the window is the main focal point, you might choose to centre your first panel on it. This ensures the pattern is perfectly symmetrical around the frame, but may result in an imperfect pattern match in a corner.
Made to your measure
Murals for the wall you have in mind


Before you order