


Installation
How Do I Hang Lining Paper? A Complete Step by Step Guide
Hanging lining paper is the professional's secret to a flawless wallpaper finish. This guide walks you through every step, from preparing your walls to achieving smooth, seamless results.

The short version
- Lining paper creates a smooth, uniform, and porous base for wallpaper, covering minor imperfections and preventing stains.
- Always prepare the wall first: it must be clean, dry, and smooth. Fill and sand any holes or cracks before you begin.
- Measure the wall height, add 10 cm (about 4 inches) for trimming, and cut all your lengths of lining paper at once.
- Hang lining paper vertically for wallpapering. Butt the edges of each piece tightly together; never overlap the seams.
- Allow the lining paper to dry completely, for at least 24 hours, before hanging your final wallpaper or mural.
To hang lining paper, you must first prepare your wall until it is smooth, clean, and dry. Measure and cut your paper, apply adhesive, and hang each piece vertically, butting the edges together. Use a smoothing tool to remove air bubbles and trim the excess paper at the ceiling and floor for a neat finish.
What is lining paper and why should I use it?
Lining paper is a plain, grade-rated paper that is applied to a wall before the final decorative wallpaper or paint. Its primary purpose is to create a perfect foundation. It covers minor flaws like hairline cracks and small bumps, providing a smooth, even surface that significantly improves the final appearance of your wallpaper.
It also serves several other practical functions. Lining paper creates a uniform surface with even porosity, which prevents the final wallpaper paste from drying at different rates and causing bubbles or patches. For older homes, it can stop stains from old plaster bleeding through to your new, pristine wallpaper.
Finally, a layer of lining paper makes future redecorating much easier. When it is time for a change, the top layer of wallpaper can often be stripped away, leaving the lining paper intact and ready for a new design. It is a preparatory step that professionals rarely skip for a high quality finish.
Do I always need lining paper before wallpapering?
While not always strictly necessary, using lining paper is highly recommended for the best possible result. On a brand new, perfectly skimmed plaster wall, you might hang wallpaper directly after sealing it. However, most walls, especially in older properties, have imperfections that will be highlighted by wallpaper.
Lining paper is essential if your wall has been patched, has hairline cracks, or if you are hanging a delicate or light-coloured wallpaper over a darker painted wall. It provides a neutral base colour and a smooth canvas, ensuring the true colours of your chosen design are not distorted. A uniform surface is recommended for any wall mural to ensure a seamless final appearance.
For a made to measure wall mural, where one continuous image spans the entire wall, a flawless base is critical. Casavono murals are delivered in numbered panels that hang edge to edge, so any imperfection in the wall beneath can disrupt the overall picture. Taking the time to line the wall first guarantees a professional and durable finish.
Murals made to your measure
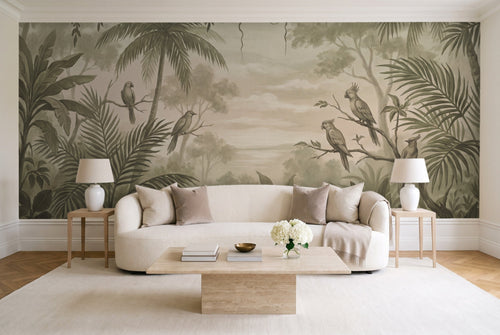
 Candlemas, MossPrinted to your wall size
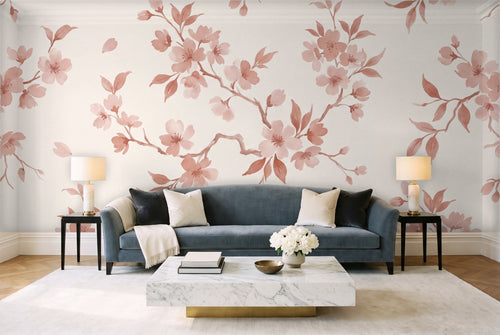
 Cotterstock, SagePrinted to your wall size
 Portoro, GiltPrinted to your wall size
What tools and materials do I need to hang lining paper?
Gathering the correct tools before you start will make the process much smoother and more efficient. Most of these items are standard decorating tools you will also use for hanging your final wallpaper. Ensure everything is clean and ready to go.
- Lining paper: Choose a grade suitable for your wall's condition (e.g., 1200 or 1400 grade for moderately imperfect walls).
- Lining paper adhesive: A specific, high-grab paste is often recommended.
- Pasting table: Provides a large, flat surface for cutting and pasting.
- Pasting brush or roller: For applying adhesive to the paper.
- Mixing bucket and stick: For preparing powdered adhesive.
- Tape measure: For accurate wall and paper measurements.
- Pencil: For marking measurements and guidelines.
- Spirit level or plumb line: To ensure your first piece is perfectly vertical.
- Sharp utility knife or wallpaper scissors: For clean cuts. Always have spare blades.
- Wallpaper smoothing brush or tool: To smooth out the paper and remove air bubbles.
- Seam roller: To ensure the edges are firmly stuck down.
- Stepladder: For reaching the top of the wall safely.
- Clean cloths or sponges: To wipe away excess paste.
- Dust sheets: To protect your floors and furniture.
How do you prepare a wall for lining paper?
Proper wall preparation is the most important step for any wallpapering project. Lining paper can hide minor flaws, but it cannot fix underlying problems. A poorly prepared wall will lead to a poor finish, no matter how well you hang the paper. For a full breakdown, see our complete guide on how to prepare a wall for wallpaper.
First, ensure the room is well-ventilated but free from drafts, which can cause the paste to dry too quickly. Turn off the electricity at the mains if you need to work around sockets or switches. The wall itself must be clean, dry, and structurally sound. Wash it down with a sugar soap solution to remove any grease or dirt, then rinse and allow it to dry completely.
Scrape off any flaking paint and remove any old wallpaper. Fill any cracks, holes, or dents with a suitable filler, allow it to dry, and then sand it down until the surface is perfectly smooth. Finally, you may need to 'size' the wall by applying a diluted paste solution. This seals the porous surface, preventing the main adhesive from being absorbed too quickly and ensuring a better bond.
How to put up lining paper: a step-by-step guide
With your walls prepared and your tools at hand, you are ready to start hanging. This process requires patience and precision. Work methodically, piece by piece, and do not rush. The care you take here will be visible in the final result.
Step 1: Measure and cut your lengths
Measure the height of your wall from the skirting board to the ceiling. Add 10 cm (about 4 inches) to this measurement to allow for trimming at the top and bottom.
Roll out your lining paper on the pasting table and cut your first length. Use this piece as a template to cut the remaining lengths needed for the entire wall, ensuring any pattern (unlikely with lining paper, but possible) aligns.
Step 2: Mark your starting line
Do not assume your wall or corner is perfectly straight. Start on a wall without windows or doors. Measure the width of the lining paper (e.g., 56 cm) from a corner and subtract 2 cm (e.g., 54 cm).
Mark this point near the ceiling. Use a plumb line or a long spirit level to draw a faint, perfectly vertical pencil line from this mark down to the skirting board. This will be your guide for the edge of the first piece.
Step 3: Mix and apply the adhesive
Follow the manufacturer's instructions to mix your powdered adhesive, or stir your ready-mixed tub. Lay your first cut length of lining paper face down on the pasting table. Apply the paste evenly with a brush or roller, working from the centre outwards to the edges. Ensure complete coverage, especially at the edges, to prevent them from lifting later.
Step 4: 'Book' the paper
Once pasted, gently fold the paper concertina-style, pasted side to pasted side, bringing the ends to meet in the middle without creasing them. This process, known as 'booking', allows the paper to soak up the paste and expand before it goes on the wall, which prevents bubbling. Let it rest for the time specified by the adhesive manufacturer, typically 5 to 10 minutes.
Step 5: Hang the first piece
Carefully unfold the top section of your booked paper and position it on the wall, allowing a 5 cm overlap at the ceiling. Align the right edge of the paper precisely with the vertical pencil line you drew. Using a wallpaper brush, smooth the paper onto the wall, working from the centre out to the edges to push out any trapped air bubbles.
Step 6: Trim the excess
Once the piece is smooth and in position, use the back of your scissors or a straight edge to press a firm crease into the paper along the ceiling line and skirting board. Gently pull the paper away from the wall and trim along this crease with sharp scissors or a utility knife. Smooth the paper back into place.
Step 7: Hang subsequent pieces
Paste and book the next piece of lining paper. Hang it on the wall, butting its edge up tightly against the edge of the first piece. Do not overlap the seams. Use a seam roller to gently press the two edges together for a strong bond. Smooth the paper down, trim the excess, and wipe away any surplus paste with a damp sponge. Repeat this process across the wall.
Change your blade. A sharp blade is essential for clean, professional cuts. Snap off a segment or change your utility knife blade after every few cuts to avoid tearing the damp paper.
Should I hang lining paper vertically or horizontally?
The direction you hang lining paper depends on the final finish. Both methods are valid, but one is clearly better for wallpapering. Horizontally hanging, or 'cross-lining', is a traditional technique used mainly before painting, as it ensures no vertical seams will coincide with the wallpaper's seams.
However, for hanging wallpaper, and especially for a modern wall mural, hanging the lining paper vertically is the standard and recommended method. It is a simpler process and ensures the wall surface behaves consistently when you hang the final wallpaper in the same direction. Keeping all layers vertical avoids any risk of horizontal ridges showing through the final wallpaper.
A Casavono mural is a single image printed on a series of vertical panels, designed to be hung edge to edge. To ensure a perfect installation, the foundation layer should be hung in the same orientation.
| Hanging Direction | Best For | Main Advantage | Main Drawback |
|---|---|---|---|
| Vertical | Wallpaper and murals | Simpler process. It follows the same technique as hanging the final wallpaper, making it straightforward. | Potential seam alignment. There is a small risk of seams from both layers falling in the same place. |
| Horizontal | Painting and very thin wallpaper | No seam alignment. Guarantees that lining paper seams will not match up with wallpaper seams. | More difficult. Hanging long, horizontal strips is physically more awkward and requires more skill. |
How long should I wait before wallpapering over lining paper?
Patience is crucial at this stage. You must allow the lining paper and its adhesive to dry out completely before applying another layer of wet paste and wallpaper on top. Rushing this step is a common mistake that can ruin all your hard work.
As a rule, you should wait a minimum of 24 hours for the lining paper to dry. However, this can vary depending on the room's temperature and humidity. In a cold or damp room, it may be wise to wait 48 hours or even longer. The paper should feel completely dry to the touch, with no dark or damp patches, and all edges should be firmly stuck down.
Wallpapering over damp lining paper can cause it to bubble, lift at the seams, or even peel away from the wall as the moisture from the new layer of paste soaks through. Giving it adequate time to dry ensures a stable, solid foundation for your final decorative finish.
Ready for the main event?
Explore our collection of made to measure murals, printed to your exact wall size.
What about textured walls?
Lining paper is designed to cover minor surface imperfections, not heavy textures. If your wall has a light 'orange peel' texture, a heavy-grade (1700 or 2000) lining paper may be sufficient to smooth it out. However, for more pronounced textures like Artex or combed plaster, lining paper will simply follow the contours of the bumps and will not create a flat surface.
In these cases, the best solution is to have the wall skimmed with a fresh layer of plaster by a professional. This is the only way to achieve the perfectly smooth finish required for a high quality wallpaper or mural installation. Attempting to wallpaper over a heavily textured surface, even with lining paper, will result in a poor finish and will likely fail over time.
If skimming is not an option, you can find more advice in our guide to wallpapering textured walls. Keep in mind that a made to measure mural is a single continuous image, and any texture on the wall surface can disrupt the picture.
More murals to consider
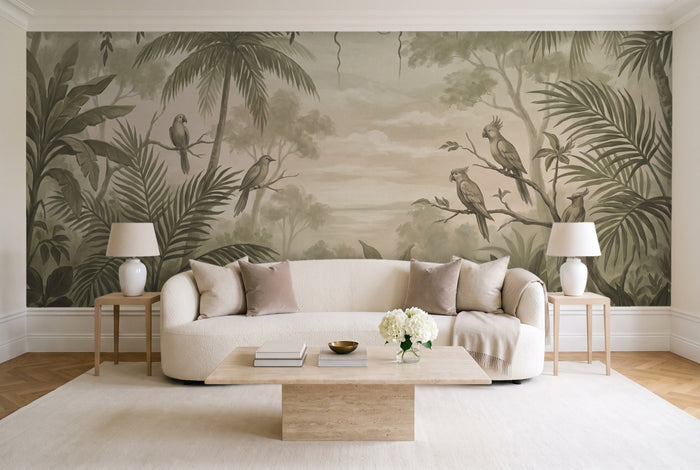
 Arrochar, MossPrinted to your wall size
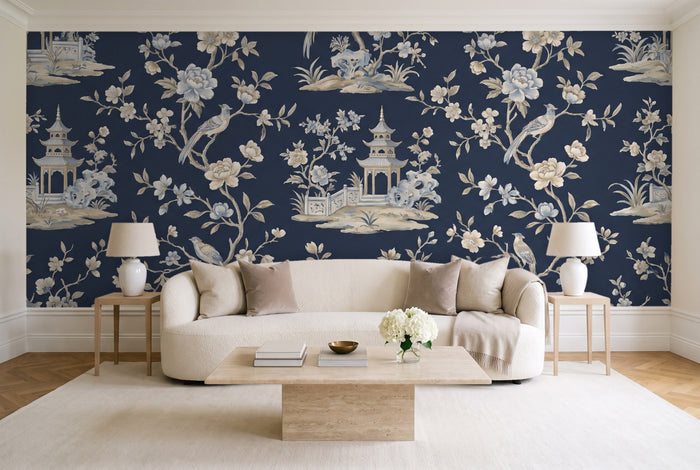
 Montmartre, StonePrinted to your wall size
 Kasumi, StonePrinted to your wall size
Common questions
Can I paint over lining paper?
Yes, absolutely. Lining paper provides an excellent, uniform surface for painting. It covers hairline cracks and creates a flawless base, often resulting in a better finish than painting directly onto plaster. Allow it to dry for at least 24 hours before applying a mist coat followed by your top coats.
What grade of lining paper should I use?
Lining paper is sold by grade, which refers to its thickness. Grades typically range from 800 to 2000. For relatively good walls with minor blemishes, a 1000 or 1200 grade is usually sufficient. For older walls with more significant surface flaws, a heavier 1400 or 1700 grade will be more effective.
Do you overlap lining paper?
No, you should never overlap the seams of lining paper. Each piece should be 'butt jointed', meaning the edges are pushed tightly together without any overlap. Overlapping would create a raised ridge that would be clearly visible under the final layer of wallpaper or paint.
Can I use wallpaper paste for lining paper?
While you can often use a standard wallpaper paste, it is better to use an adhesive specifically formulated for lining paper. These adhesives tend to have a stronger grab, which is helpful for holding the thicker paper in place and ensuring a solid bond with the wall surface.
How do I hang lining paper around corners?
Never try to wrap a full width of paper around an internal or external corner. Instead, hang the paper so it overlaps the corner by about 2 cm (¾ inch). Make a vertical cut in the overlap. On the new wall, use a plumb line to mark a new vertical guide and hang the next piece, overlapping the small wrapped section.
Does lining paper hide all wall imperfections?
Lining paper hides minor imperfections like hairline cracks, small scratches, and slight unevenness in plaster. It will not hide larger issues like deep holes, significant bumps, or damp patches. These must be properly repaired, filled, and sanded before you begin hanging lining paper.
Made to your measure
Murals for the wall you have in mind


Before you order